Castor Oil Infused with Mint
I have chatted about how I got started in cosmetology, but this post will be in a different direction of cosmetology. That post was about me, personally. This post is about the industry and how it works and what I was taught 13 years ago. I know some things have changed, like, now they are monitoring barbers and they have to be licensed to cut hair, just like a hairstylist. The last time I checked, you could get a simple license just to shampoo hair. A few years back, a college classmate told me that they had taken away the Instructors’ License level and is now the same as a regular hairstylist license. I felt bad for her because she spent money on those extra hours and extra money to receive that special license. This goes to show you how corporations can change the rules in a heartbeat whether you think it’s fair or not. However, I am glad that the Barber shops are now regulated.
This industry is all about the Cosmetic appearance of a person. What this means is things like make-up, haircuts, updos, hair colors, products to use to achieve what you want for your hair, skin, nails (fake or real), body lotions, scrubs, scents, and more. I was taught so many things, in depth, about hair, skin, and nails. How to identify infections, conditions, and problems of the skin, scalp and nails. We are not allowed to give a diagnosis, although we may know what it is, we have to refuse service and refer them to a specialist that is suitable for that condition. In cosmetics, we are to try our best to achieve what our client wants or has in mind. We may not get that identical look in the picture shown to us, but, that we try to do our best.
We are taught how to identify hair types and the care requirements to upkeep the elasticity of healthy hair and the products to use to achieve this. We are taught what hues go best with skin types, weather it is hair colors, make-up, or clothing. You just wouldn’t believe how much we are taught in just a one short, year of full-time student cosmetology college course. We are taught how to make a person look absolutely beautiful or handsome. This industry can make a cosmetologist well to do financially.
Now, what we were not taught, all the chemicals that are used to achieve these gorgeous looks comes with health risks. Not only are your commercial shampoos harmful, but the hair colors, face creams, nail polish, and makeups are harmful if they are not made from a natural source. Those chemicals can cause hair loss, scalp or skin conditions, thyroid problems, heart issues, and even cancer. The list of problems that these chemicals can cause is not limited to what I have listed. I have done research on several of the ingredients of shampoos and body washes and was astounded at all the unnecessary chemicals that are in our everyday products that we love to use. Even the fragrance of your hair or body products can cause you harm. I stumbled on a site about toothpaste and decided to look at the ingredients and was shocked to find a couple ingredients used in the toothpaste also used in shampoo. Now why is that???
So, after digging and researching these chemicals, it made me decide to start making my own shampoo, conditioners, body washes, lotions, hair, and oral care products. Let me tell you, I love making my own because I know what’s in my products,, plus most of the time it’s cheaper and I can create my own scent using essential oils or plant-based flavor oils, which is so, so, so, much healthier. I have been on this journey for a year now and am loving it and I want to tell everyone about it. Here is what I feel a cosmetologist should do for their client: yes, make them look absolutely beautiful, but also using healthier products. Not giving them harmful tips of products to use or use products that are going to harm them at any given time. Whether it be in just one month’s time or five years down the road. This is my goal as an honest cosmetologist because I know and have searched for healthier options, not only for myself, but for future clients who want this option. I can say I do learn new natural alternatives each time I research and create a new natural product.
The products I have made are not many, yet, but my list of experience and formulation is expanding as I learn. Below is a list of the items I have made.
- Hair Growth Oils
- 3 Ingredient Lavender Shampoo
- Peppermint Shampoo
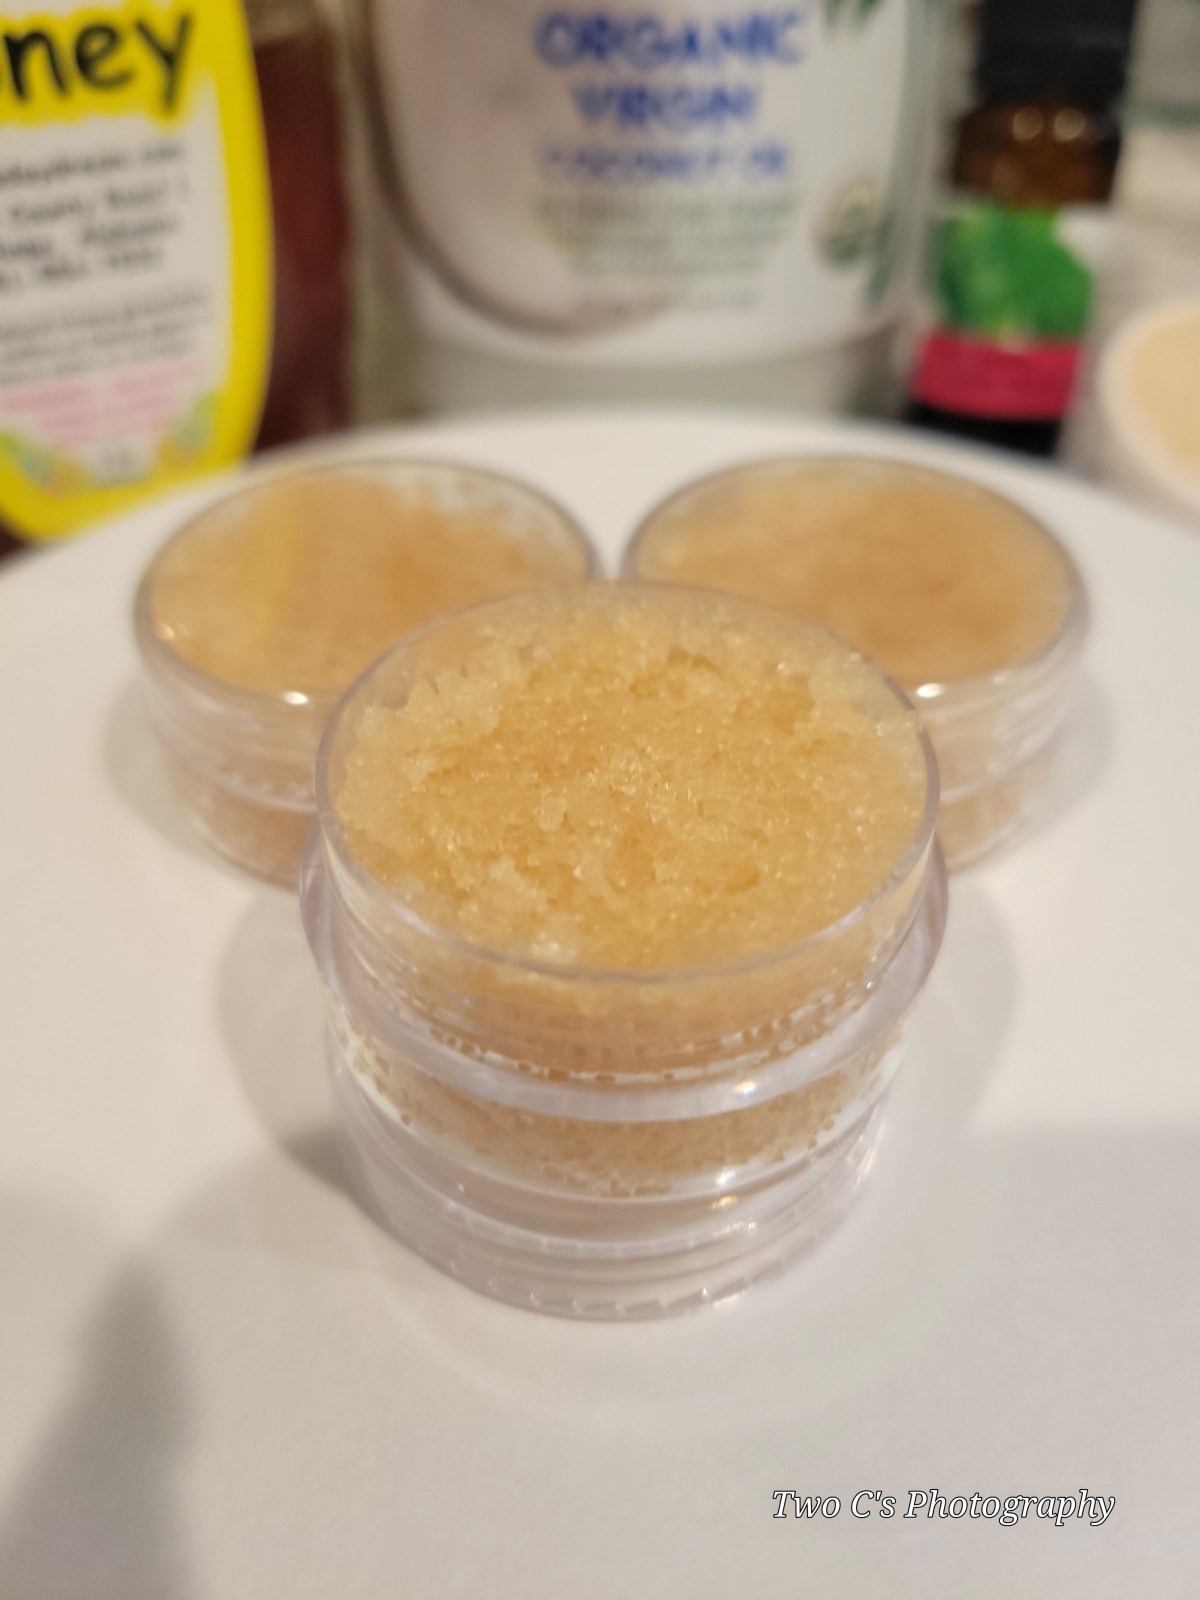
- Lip Scrub
- Coffee Hand & Body Scrub
- Basic Castile Soap Shampoo & Body Wash
- 3 Ingredient Toothpaste
- Rosemary Hair Rinse
- Rice Water Rinse
- Coffee Infused Oils
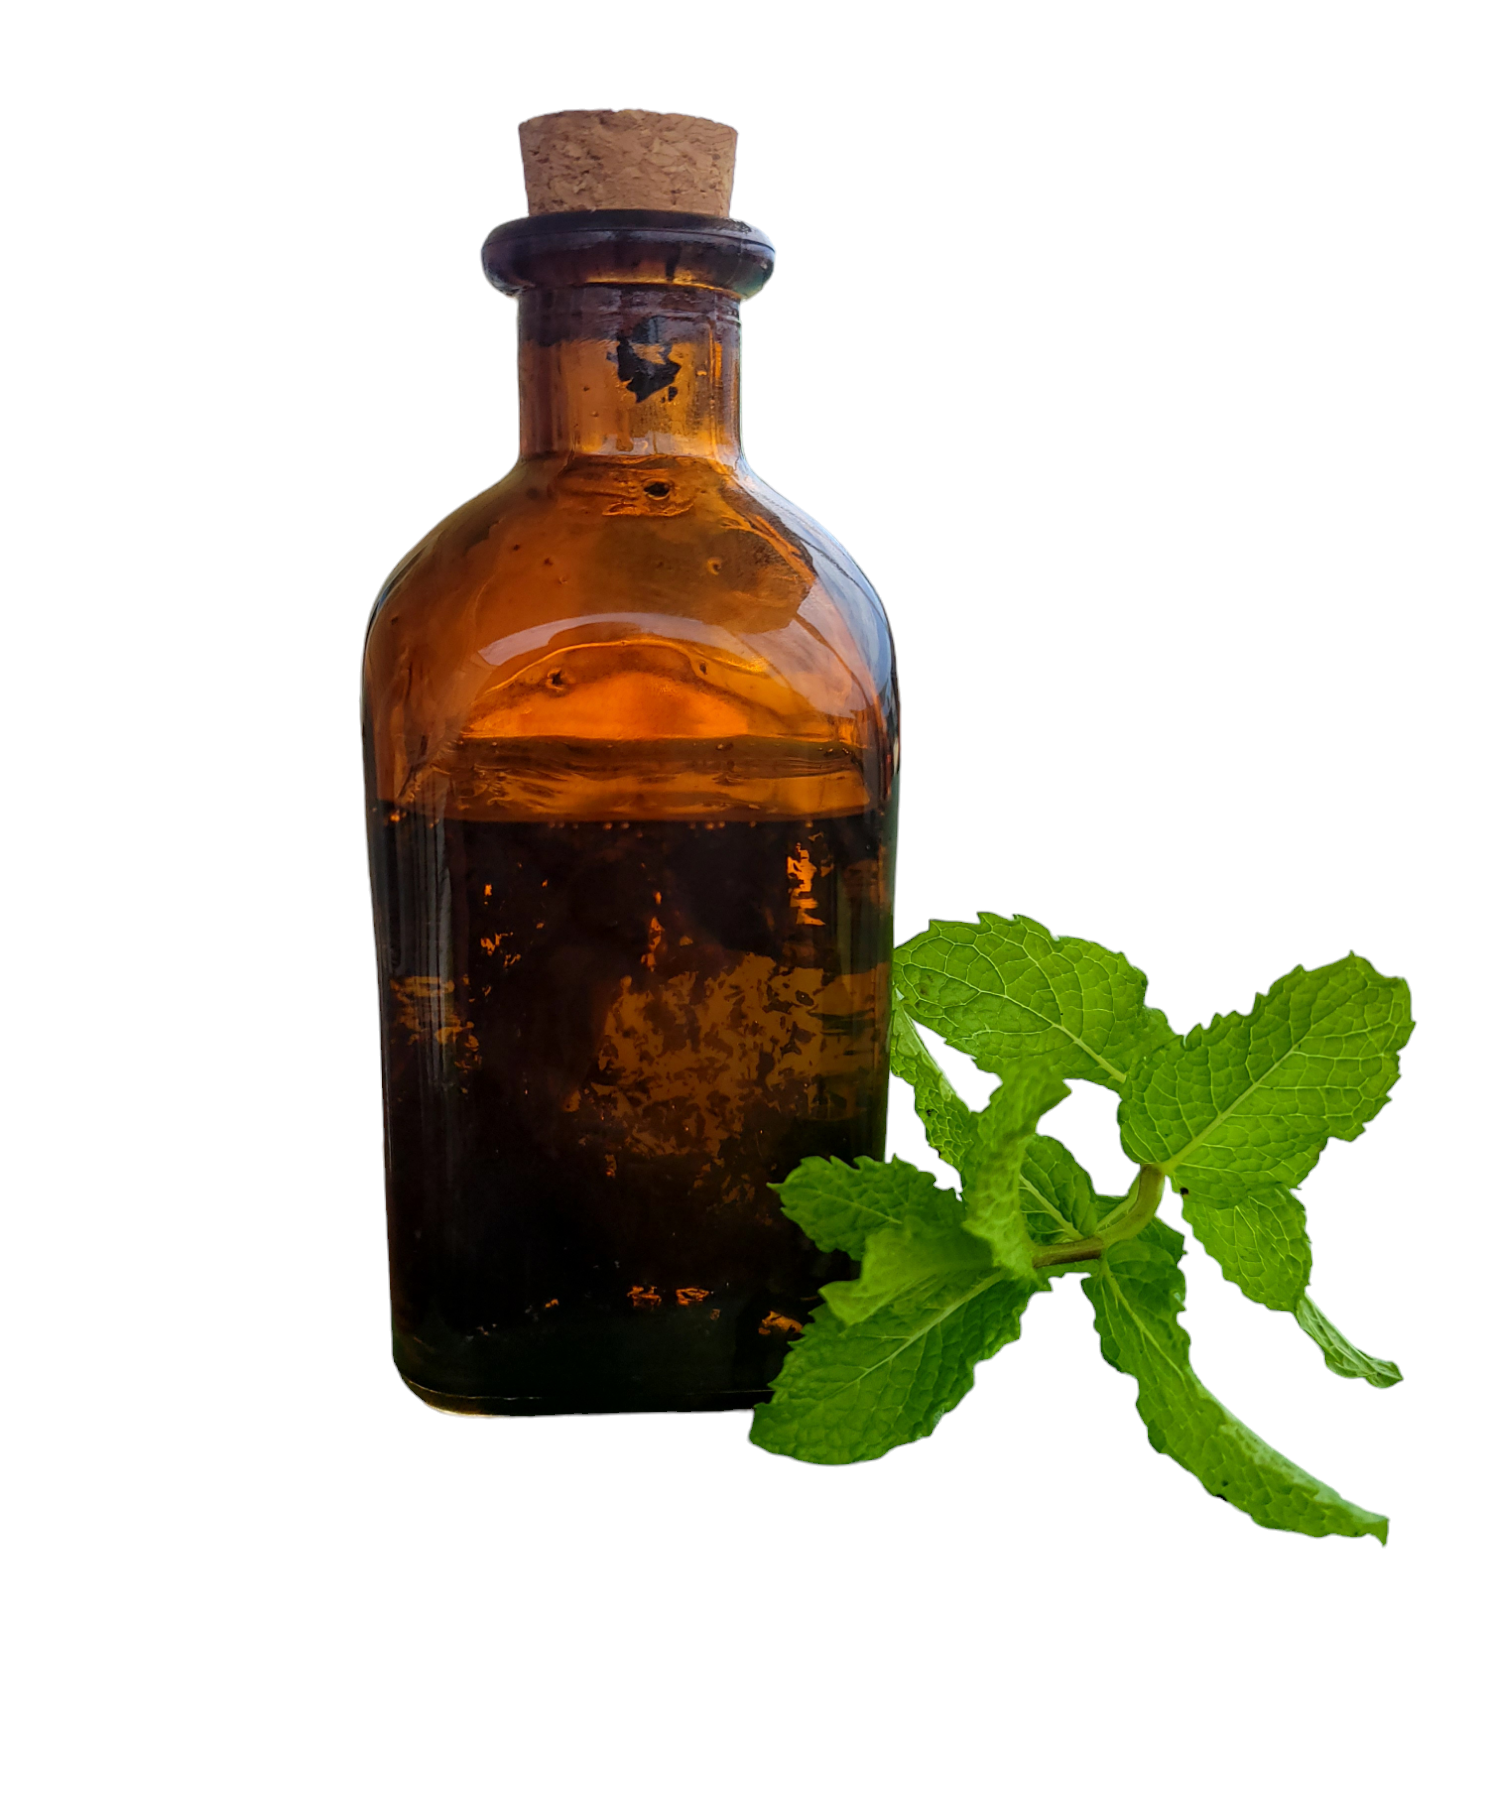
- Castor Oil Infusion
- Oatmeal Body Scrub
- ACV ( Apple Cider Vinegar) Hair Rinse
- Lip Balm (with lanolin)
- Coconut Milk Shampoo
- Whipped Shea Butter Lotion
- Turmeric Face Scrub
I did add some additional ingredients, like glycerin and vitamin E oil, in most of the shampoos. I did this to help improve moisture retention and as a preservative. I can tell a difference when I use these ingredients than when I don’t. After using any of these natural homemade shampoos, I use the ACV Rinse as my conditioner. Doing this leaves my hair soft and it balances my hair and scalp ph.
I know I still have lots more to learn as I travel along this natural journey of cosmetology. My heart’s desire is to educate you with what I know so I can help you find healthier alternatives to live a healthier life. The more people know about these options, the more you could possibly save on doctor’s visits, medications, and possibly surgeries. One day you should just take one of your beauty products and research the ingredients and see for yourself just what I found. That is if you are curious enough to do this.
I now love cosmetology even more now than I did in the beginning. I have always found cutting hair, styling, and giving Updos so much fun, but it just was not a passion of mine as it is for others. The reason I love it more now is because I love to create and learn. And most importantly, I love helping people by teaching them whatever knowledge I can pass along.